Plantable Pots Transplanting Guide
When your seedlings have multiple sets of leaves in your plantable pots, they are ready to be moved into the garden to continue growing — this transition into a larger home is called transplanting. See below for a full guide on how to add your transplants to the garden!

Step 1:
Choose Your Plant’s Home
First thing’s first - select where your seedlings will be moved to. Your seedlings can be added directly to your backyard garden, or to a container like a raised bed or large planter pot. Our Fabric Raised Garden Bed is an excellent home for your seedlings - check it out! Make sure that your seedlings are placed where they’ll receive day-long sunshine (at least 8 hours).
Step 2:
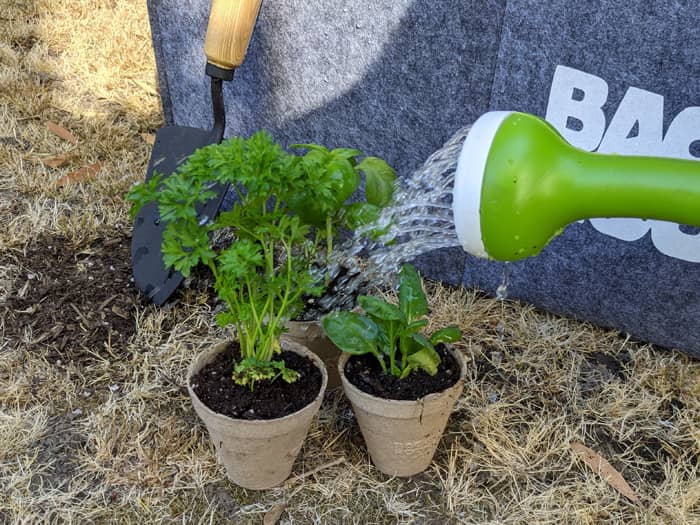
Water
Before transplanting, water your plants thoroughly in their plantable pots, and add water to the soil in your garden, raised bed, or planter pot. This ensures your plants have enough moisture to thrive in their new home right from the start.

Step 3:
Dig
Dig holes in the soil for each of your transplants. Each hole should be slightly wider and deeper than the size of your transplants.
Step 4:
Plant
When roots start growing through the bottom holes or through the side of your pot, or when plant has grown multiple set of leaves, it’s time to transplant it into the ground or a container. It’s really easy since our starter pots are plantable. Simply dig a space and place your plant with the pot into the ground or container.
![Hand placing biodegradable 4.25" seed starting pot with green plant into garden soil. - [Replacement] Organic & Plantable 4.25" Seed Starting Pots (8 ct) - Default Title - Back to the Roots](http://backtotheroots.com/cdn/shop/files/BTTR-SeedStarting-2307-213-sRGB-1080x1080_75d2e0c9-d4c2-4c95-a782-902cacee97e6.jpg?v=1713995349&width=1080)
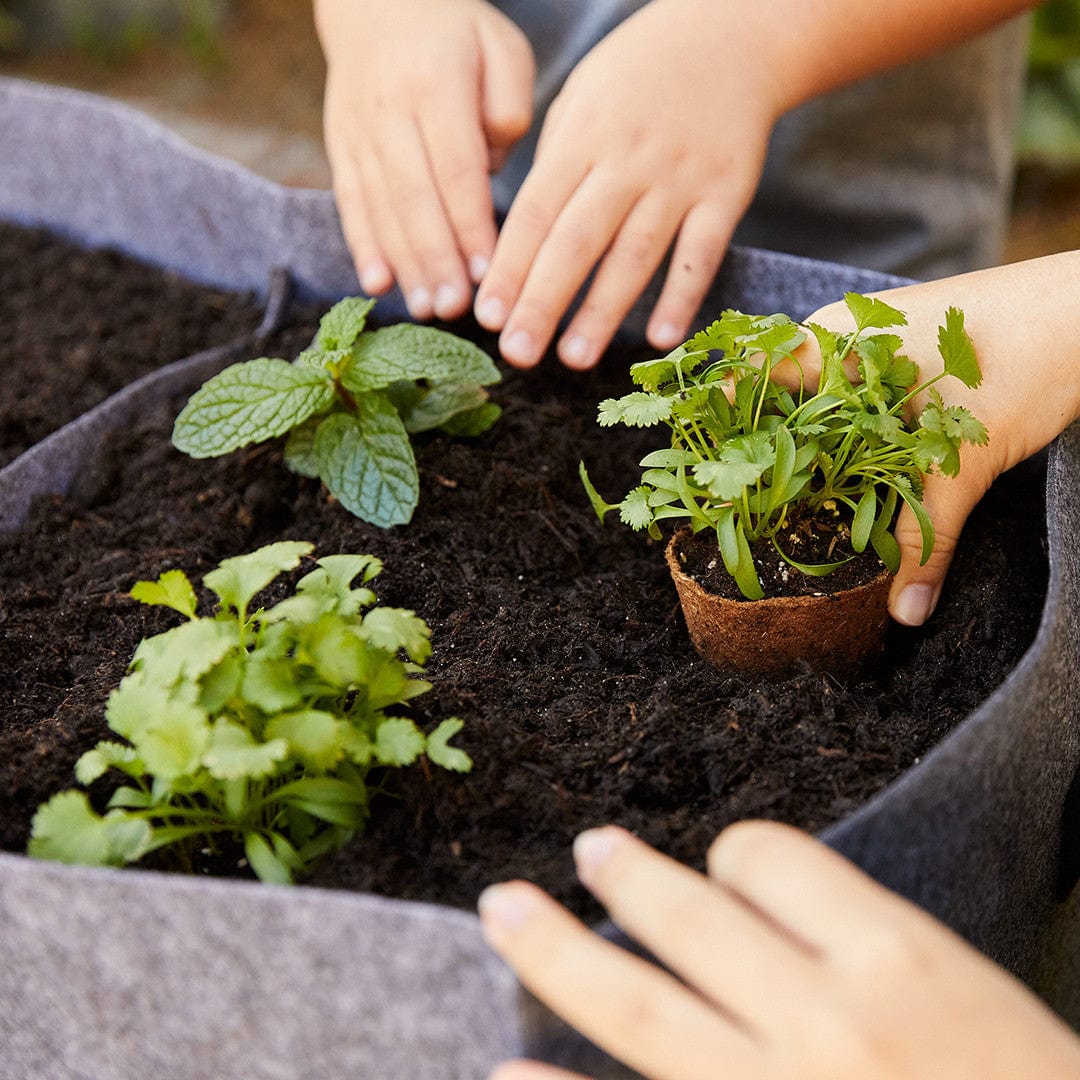
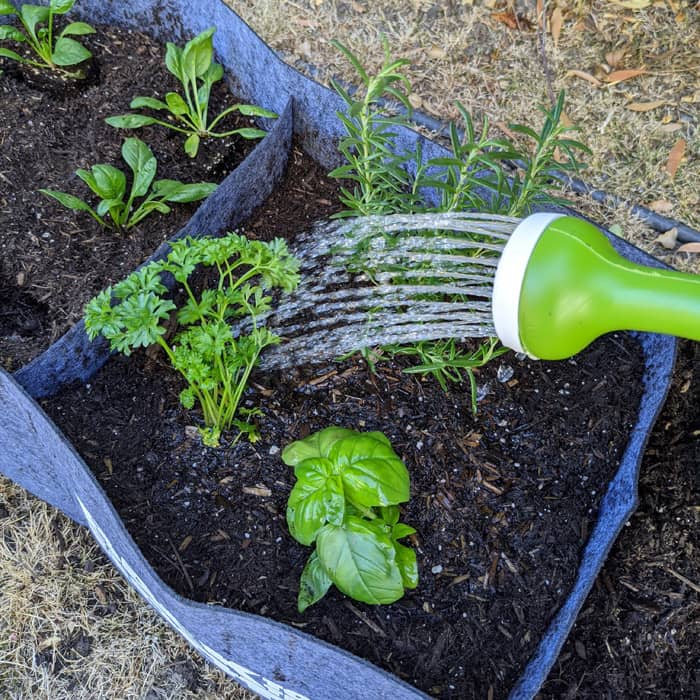
Add your transplants to their pre-dug holes, cover with surrounding soil, and gently press down to firm the soil around your plant.
Use a watering can with a gentle spray nozzle to thoroughly soak the soil. If you’re using a container or our Fabric Raised Bed, water will drain out of the bottom as needed.